Eye Makeup for Beginners
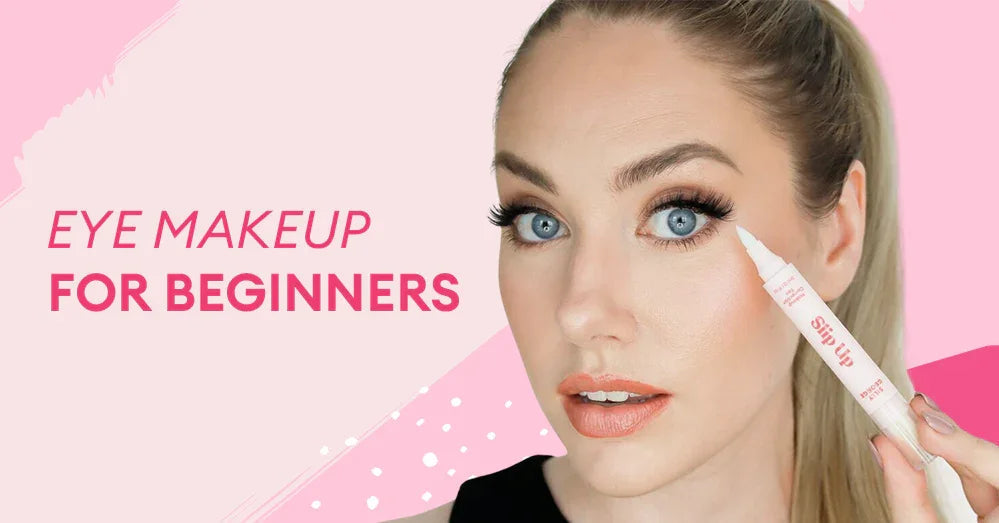
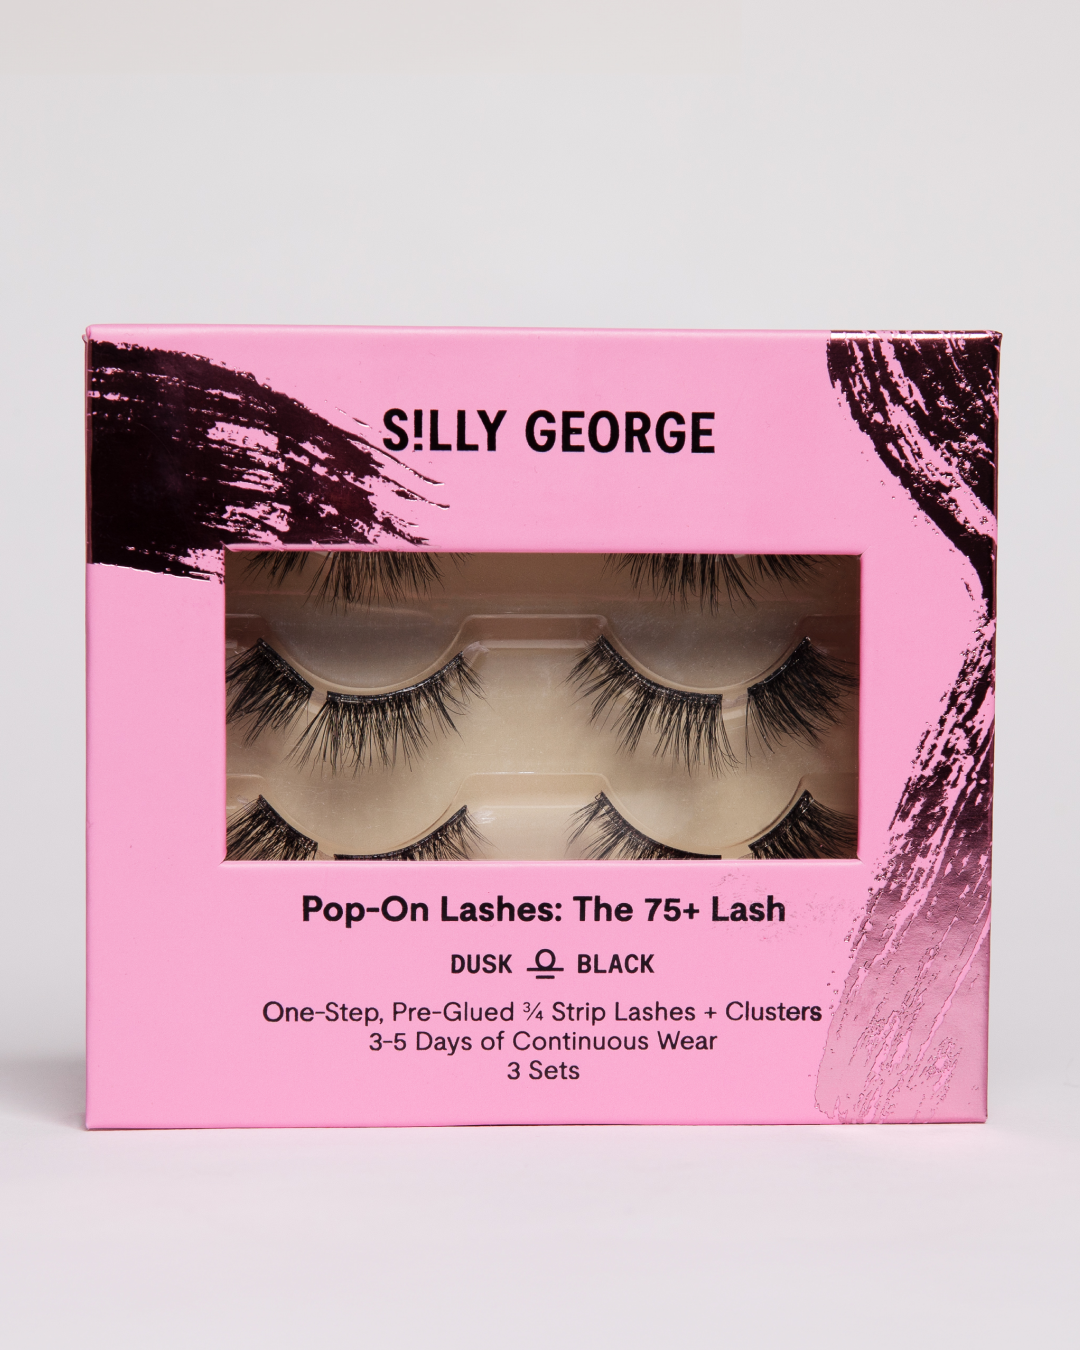
Welcome to the wonderful world of false lashes! If you've just picked up your first falsie and are looking for some beginner makeup tips to really let those long lashes shine, then you’ve come to the right place.
Today, we’re going to talk you through a simple makeup routine which will cover the four basic steps that every beginner can master for a beautiful, easy look for any eye shape.
But first, let’s take a look at the names for the different sections of your eye which you’ll need to know in order to apply your makeup effectively.

The Beginner’s Guide to Eye Makeup
In this simple tutorial, we will show you how to combine the basic elements of eye makeup, from shadows and liners through to mascara, to create a polished result. Just follow these four easy steps and you’ll be able to create a ‘one-color’ smokey-eyed makeup that fits with your skin tone in minutes!
1) Eye primer for beginners
2) Eyeshadow for beginners
3) Eyeliner for beginners
4) Mascara for beginners
Eye primer for beginners
After you have cleaned the area around your eyes, start by applying a primer to the entire surface area of your lids. Primer will keep your makeup in place, make the colors pop out more and also provide a smooth, even finish.
Eye shadow for beginners
Eye shadow is a great way of adding color, contrast and complexity to your eyes. It can get seriously sophisticated once you start adding multiple colors and blends, but for today we’re going to focus on our simple one-color eyeshadow (darker than your skin tone) suggestion which you can do in seconds.
Quick Tip: As a basic rule, if you want a straightforward, everyday look, then your eyeshadow should finish at the crease line of your eye. If you want something more dramatic, then extend your makeup up to your brow line.
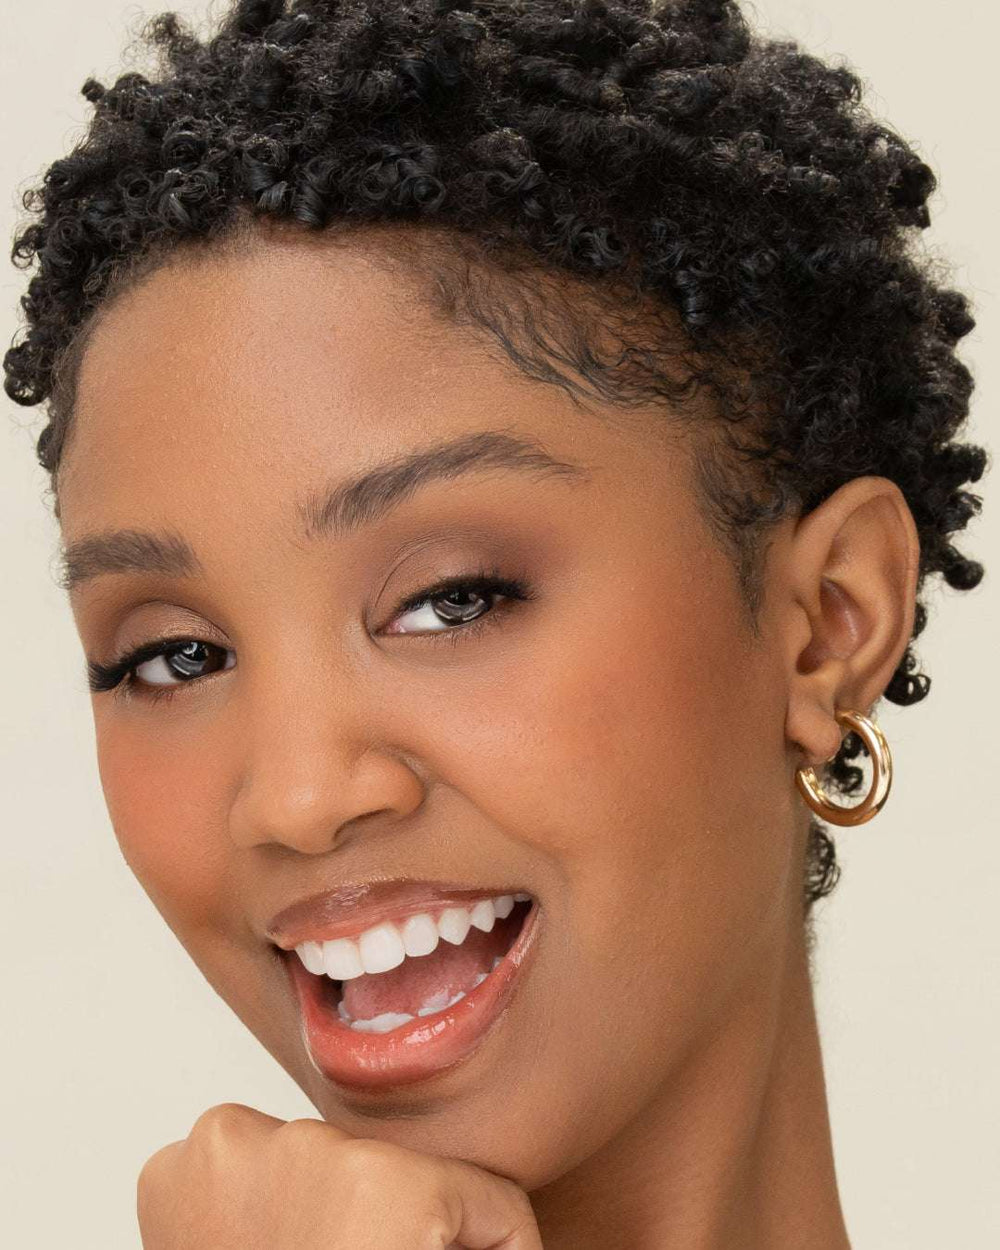
Smokey eyes are perfect for almost any evening, and with our one-color application trick they couldn’t be easier. Just take a matte black eyeshadow shade and apply it across the whole of your eyelids. Using a brush or even your finger, gently blend the edges of the eyeshadow (up towards your brow line and out from the outer corner of your eye) so that the color gently fades as it moves away from your eye.
Eyeliner for beginners
Now that you’ve set the base with eye shadow, it’s time to use your eyeliner to add some definition. Using a black eyeliner pen, shade in both your upper and lower lash line. This should create a dynamic contrast between the jet black shade of the eyeliner and the softer tones of the eye shadow.
Mascara for beginners
Using a eyelash curler is an essential step in eye makeup routines for several reasons. Firstly, it effectively lifts and curls the eyelashes, instantly opening up the eyes and creating a more awake and vibrant appearance.
This enhances the overall attractiveness of the eyes and makes them appear larger and more alluring. Secondly, a lash curler helps to create a better base for mascara application, ensuring that the lashes are evenly coated and separated, resulting in a more defined and dramatic look.
After the eyelash curler, finish the look by adding a generous splash of mascara to your eyelashes, starting the wand at the base of your lashes and pulling upwards in a zig-zag motion.
Quick Tip: People think pumping the mascara brush in and out of the mascara tube is the best way to coat the brush. In fact, this allows more air into the tube, which will dry your mascara out faster. For a nice thick coat, rotate the mascara brush slowly inside the tube and then pull it out.
And that’s it, you’re now a master of eye makeup!
Taking it to the next level
Ready to take things to the next level? Consider these tips:
- Invest in several different eye shadow brushes. Some brushes are good for applying color, others for blending, others for more defined shaping. If you try to do everything with one brush, you’re going to have to wash it between every different color (boring) and you’re always going to be compromising on the finish.
- Apply eye shadow before your foundation or concealer of your skin tone. This way, you don’t have to worry so much about fallout (makeup straying onto other parts of your face), you can cover up any mistakes, and sharpen those eye shadow edges with your concealer.
- Always blend light to dark, meaning you apply lighter colors first. But wait, did you know there’s also a really simple thing you can do to transform your eye makeup, and it doesn’t require any expertise at all.... Add on a false lash! False lashes can instantly boost your lash length and volume, and take just seconds to apply.
Finding the right false lash
Finding the perfect false lash is all about knowing your eye shape. There are five common eye shapes in the world, and you can read about all of them in our blog here. We even offer recommendations for each different kind of eye shape, so you can match your eye shape to the lash that’s right for you.
Fallen in love with more than one lash? That’s OK! Try one of our our basic bundles today and you can take home two different long lashes of your choice PLUS our revolutionary LinerBond™ Lash Application System.


