A Beginners Guide to False Lashes
Once saved for only special events, false lashes are now becoming a part of our daily makeup routine. They can transform your entire look in an instant - giving you bold, beautiful eyes for any occasion. The only downside? They are notorious for being super tricky to apply!
With so many varieties, styles, and types of application, false lashes can make even the most skilled of us wince at the thought of having to put them on! So when it comes to us false lash newbies, there’s no surprise that popping on a pair of lashes can come with a side of panic!
In this post, we will help you to learn how to apply false lashes like a pro. From choosing the best false lashes for your eye shape to keeping falsies on all day & night - let this guide be your bible for lash application!
Step 1: Choosing your false lashes
Consider your eye shape: Choosing the right lash for your eye shape will give you the most flattering results when wearing false lashes. The purpose of false lashes is to accentuate your eyes and lashes, so it’s best to get a lash style that will frame your eye perfectly.


 Downturned eyes: If your eyes slant downwards at the ends, you have downturned eyes. You can use false lashes to lift the eyes and create a more upturned appearance with the use of a cat-eyed lash. Try SG Girl on Fire lash.
 Close-set eyes: If the space between your eyes is less than the width of your eye, then you have close-set eyes. This shape benefits with a false lash that opens the eyes to give the illusion that they’re bigger and more balanced. Try criss-cross or wispy lashes such as SG Girl Crush lash.


Lash comfort and fit: Along with your eye shape, you should also consider a lash that is comfortable to wear. If you have sensitive eyes or wear contacts, then you might want to stay away from heavy, dramatic lash styles and thick lash bands. If you have sensitive eyes, using a lash adhesive that won’t cause irritation is important. Look for a non-toxic, latex-free lash adhesive such as our SG LinerBond™ System that is safe to use on sensitive or dry eyes.
Step 2: Measuring your false lashes
Trim to size: Before applying LinerBond to your eyelid, bring the lashes up to your eye and determine if they need to be trimmed. If you find they extend out longer than your eyes, then trimming the outer ends will ensure a more comfortable and flattering fit. You may even want to trim the inner corner if you prefer more volume at the ends of your eyes.
Step 3: Prepping the eye
Curl your lashes and apply mascara: Don’t forget this step if you want an effortless lash look! Curling your lashes combined with applying mascara means your natural lash will blend in once the lash is applied.
Step 4: Applying the lashes
- Carefully remove the lash from its container. You can use tweezers to do this, but fingers often are easier - just make sure they’re clean! Gently roll/bend your lashes to make them more flexible and easier to apply.
- Apply your LinerBond lash adhesive.
- Use tweezers or your fingers to place the lashes as close to your natural lashline as possible. Gently apply pressure when you press the lashes into place starting from the inner corner and making your way along to the outer corner. The gentle pressure activates the magic of Silly George’s LinerBond adhesive.
Step 5: Removing your false lashes
Your false eyelashes can be reused if you remove them correctly. The first step is to use your tweezers or fingers to gently pull the lash off from the outer corners. You may wish to apply a non-oil based cleanser, micellar water, or Lid & Lash Cleanser to a q-tip prior to removing the lashes and then wipe your lids clean after removal.
Safely pop your lashes back into their box for the next time you decide to go big and bold with your makeup look!
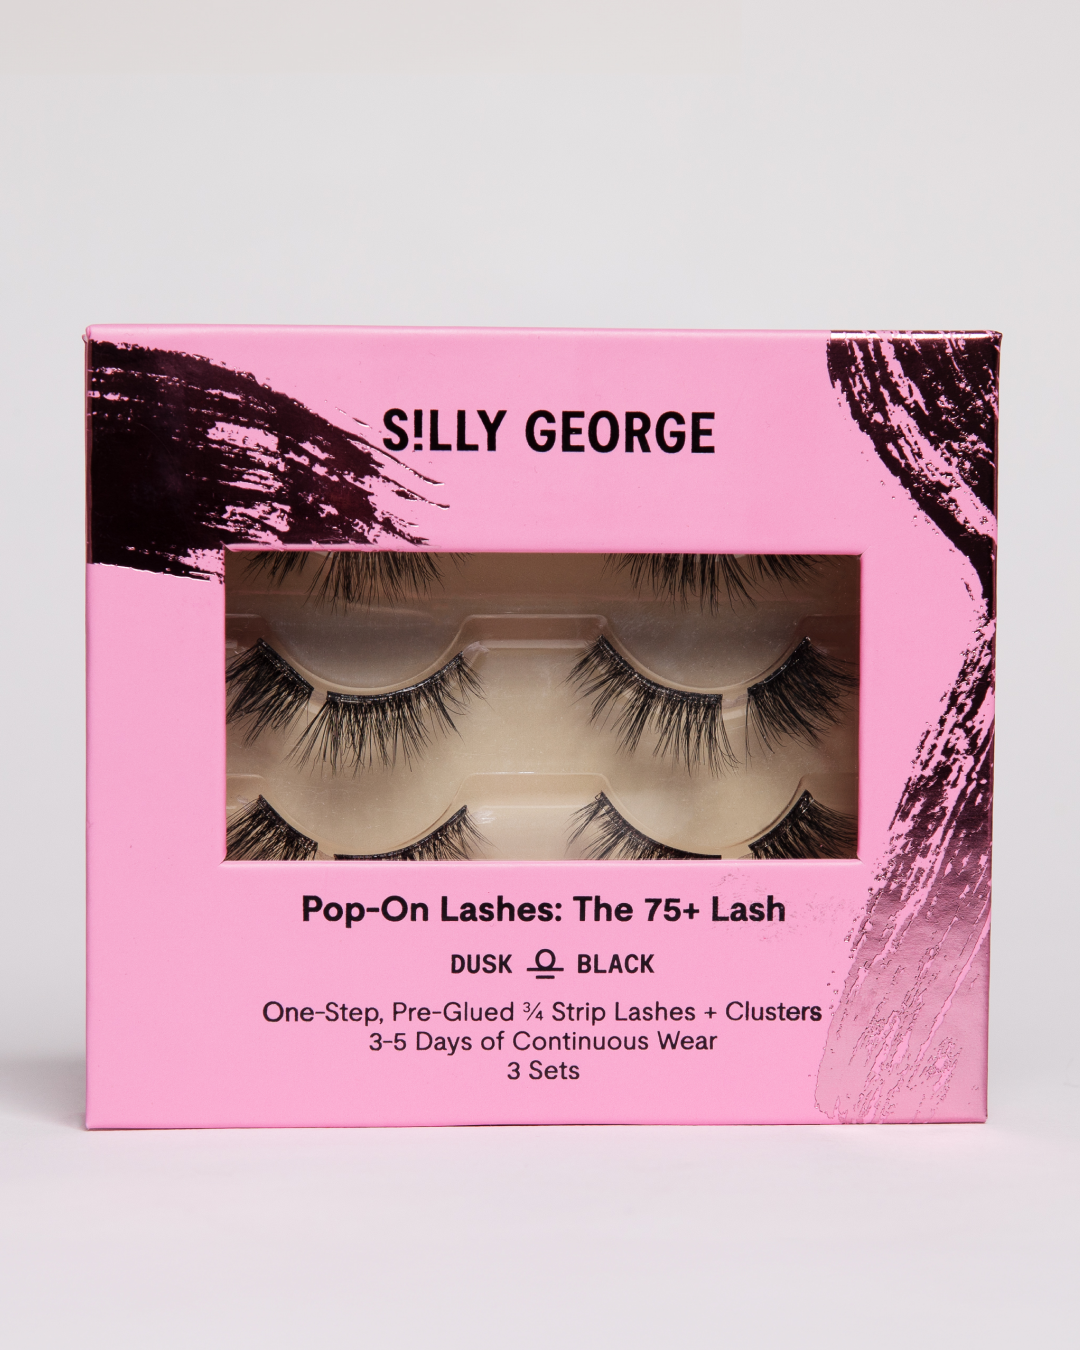
Shop the starter kit range and start your journey to longer, fuller lashes today.
False eyelash beginners will love our easy to use Starter Bundle that contains everything needed for a flawless, pain-free, and foolproof lash application!


