




BUILDING FOR LASTING LIFT
1. Begin with clean, dry lashes. Ensuring your lashes are dry will prevent tugging and make the curler more effective.
2. Open the curler and position it at the base of your lashes. Gently clamp and hold for a few seconds, then release.
3. Repeat as desired for added lift.


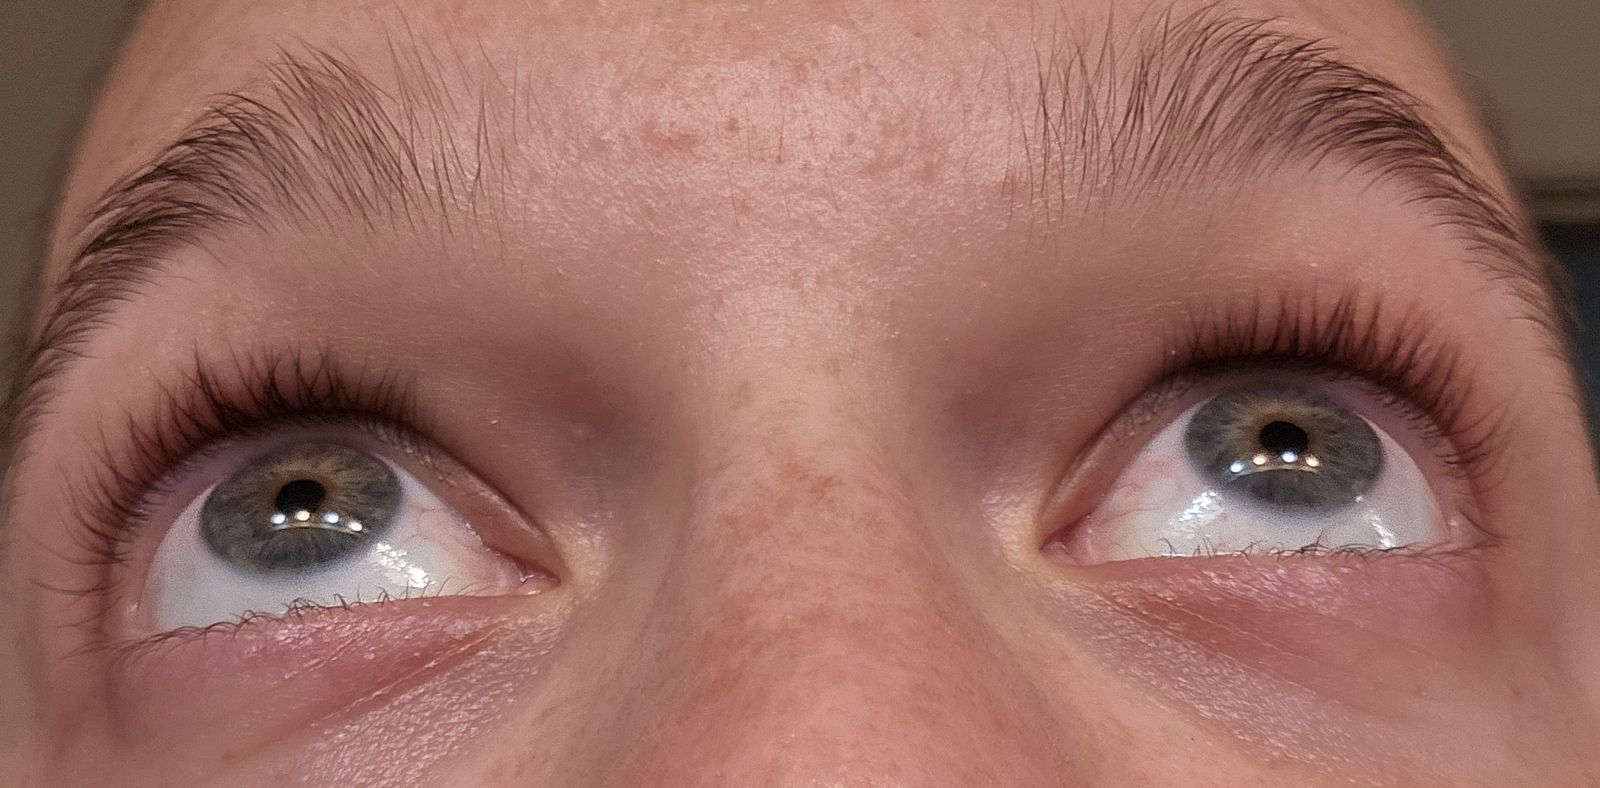
I tried this right after my elf one and it blew it out of the water! It made my lashes have a stronger, higher curl and really made my eyes look bigger
Pinching usually happens when too much pressure is applied or the curler isn’t positioned close enough to the lash base.
For the perfect curl, place the curler at the root of your lashes and gently squeeze using your thumb and index finger. Hold for about 8 seconds to create a smooth, lifted shape.
For added definition, release and repeat in light 2-3 second pulses as you move slightly along the lash line, building lift without pulling or discomfort.
Make sure lashes are dry and clean before curling lashes, because the weight of moisture or build up will weigh down the lashes.
After each use, gently wipe your eyelash curler with a clean, dry cloth to remove any residue and keep it in optimal condition.
Store it in a cool, dry place and avoid humid environments, as moisture can affect the metal components over time. Regular care helps maintain performance and extends the life of your curler, but for best performance replace your eyelash curler every 12 months.
The exact timing to replace your eyelash curler pad depends on usage and wear of the silicone, but once it shows signs of tearing, cracking, or splitting, it is best to replace it. A fresh pad also provides better tension and lift, so if your lashes are no longer holding a curl as well as they used to, it may be time to replace the pad.

Pop-On Lashes® are natural, comfortable lash clusters that apply in minutes with no extra glue or bonds required.